The 4-Stage Grip Strength Progression That Actually Builds Crush Strength
Quick Answer: Build grip strength in 4 stages, each 2-3 weeks: dead hangs for base tendon capacity, farmer’s carries for loaded grip endurance, thick-bar holds for crush strength, then gripper closes for peak crush power. Skipping stages is the most common reason people plateau.
Most people jump straight to a heavy gripper, fail to close it, and give up. Grip strength isn’t one skill — it’s a stack of four, and each one needs to be built before the next makes sense.

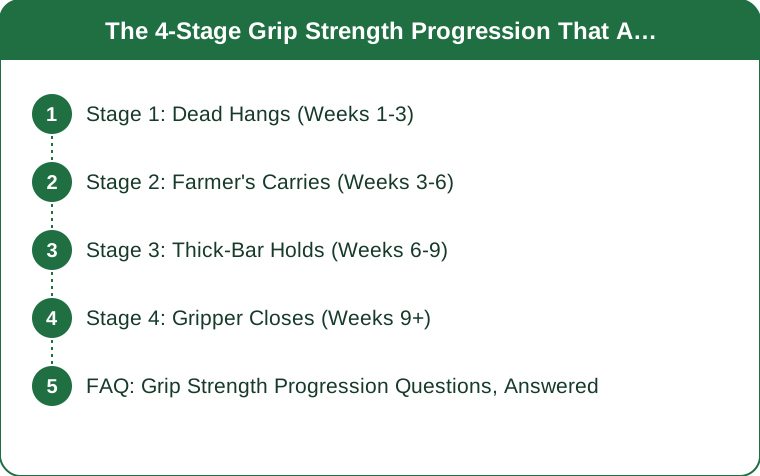
Stage 1: Dead Hangs (Weeks 1-3)
This is where tendons and connective tissue adapt before muscles even become the limiter. Start with 3 sets of max-effort hangs from a pull-up bar, resting 90 seconds between.
Most beginners hang 15-30 seconds initially. The goal isn’t speed of progress here — it’s consistency. Tendons adapt slower than muscle, roughly 8-12 weeks for real structural change, so this stage isn’t optional even if hangs feel easy by week 2.
Stage 2: Farmer’s Carries (Weeks 3-6)
Once dead hangs hit 45+ seconds comfortably, add loaded carries. Grab a pair of heavy dumbbells or kettlebells — heavy enough that 40-60 feet feels genuinely hard by the last few steps — and walk with a tall posture, shoulders back.
3 sets of 40-60 feet, resting 2 minutes between. This builds the endurance component of grip that dead hangs alone can’t touch, since carries load the hand under motion, not just static hold.

Stage 3: Thick-Bar Holds (Weeks 6-9)
Wrap a towel around a pull-up bar or use fat grip attachments to roughly double the bar’s effective diameter. Thick-bar holds specifically target crush strength — the ability to close your hand fully around something — which thin-bar hangs don’t train well.
3 sets of max-effort holds, 90 seconds rest. Expect your times to drop by 30-40% compared to thin-bar hangs at first; that gap closing over a few weeks is a good sign of real crush progress.
Stage 4: Gripper Closes (Weeks 9+)
Only now does a gripper make sense — attempting to close a spring-loaded gripper trains peak crush force in a way carries and hangs can’t replicate. Start with a gripper rated for roughly 60-70% of your estimated max, and work sets of 3-5 controlled closes, not maxing out every session.
5 Mistakes Everyone Makes at This Stage:
- Buying a gripper rated way above their level and never closing it once
- Maxing out every session instead of leaving reps in reserve
- Skipping stages 1-3 entirely
- Training grip and forearms every day with no rest — grip recovers slower than most people assume
- Ignoring open-hand extensor work, which creates the muscle imbalance behind most forearm pain
FAQ: Grip Strength Progression Questions, Answered
How often should I train grip strength per week?
2-3x per week with at least one rest day between sessions — grip fatigue accumulates and recovers slower than most people expect.
Can I do all 4 stages in one session instead of spreading them over weeks?
No — stage 1 specifically builds tendon capacity that stages 2-4 depend on. Rushing risks tendon strain, especially in the wrist and elbow.
Do I need equipment to start, or can I begin with nothing?
Stage 1 needs only a pull-up bar or sturdy overhead ledge. Stages 2-4 need dumbbells and eventually a gripper, but none of it requires a full gym.
TL;DR:
- Grip strength is 4 stacked skills, not one: hangs, carries, thick-bar holds, then grippers
- Each stage needs 2-3 weeks minimum before moving to the next
- Skipping straight to a gripper is the most common reason people plateau or quit
- Train grip 2-3x/week with real rest days — recovery lags behind other muscle groups
Keep Reading
This article is for general informational purposes only and is not medical advice. Always consult a qualified health professional for guidance specific to you.