5 Carry Variations and What Each One Actually Fixes
Quick Answer: Farmer carries build raw crushing grip and total-body tension. Suitcase carries expose and fix side-to-side asymmetry and lateral trunk weakness. Front rack carries train upper back posture and thoracic position. Overhead carries build shoulder stability and expose thoracic mobility limits. Pinch carries target the thumb, which is the weakest link for most people. Pick by what fails, not by what feels hardest.
Carries are the most underused tool in most training programmes, largely because nobody explains that the variations are not interchangeable.

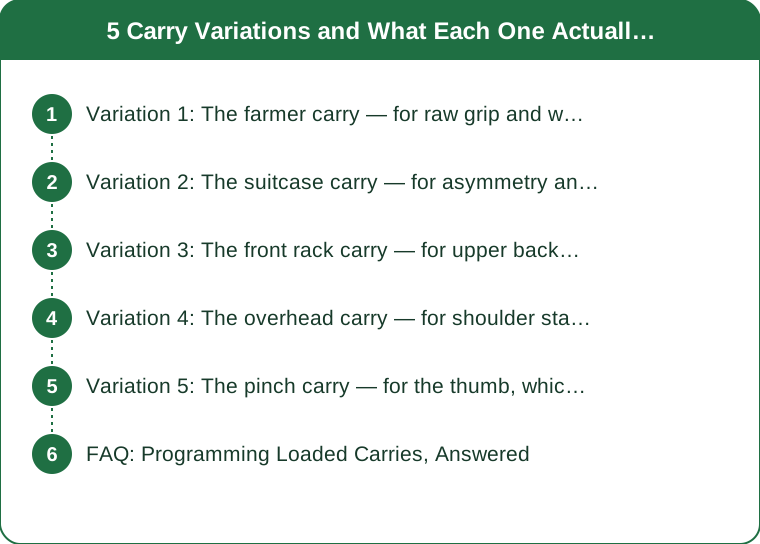
Variation 1: The farmer carry — for raw grip and whole-body tension
Two equal weights, one in each hand, arms at your sides, walking with a tall spine and braced trunk. It is the default carry and it is the default for good reasons.
What it fixes is crushing grip endurance, which is the quality that fails during deadlifts, rows and pull-ups long before the target muscle does. Because the load is symmetrical, you can go genuinely heavy, and heavy is what drives grip adaptation.
It also trains something less obvious: the ability to hold total-body tension while moving. Your traps, lats, core and even your feet are working to keep you organised under load, and that transfers to almost every other lift.
Use it when your grip gives out before your back does, when your deadlift stalls at the point where the bar starts rolling, or when you want one exercise that trains grip, posture and conditioning at once. Start with roughly a quarter of your bodyweight in each hand for forty metres and progress from there. If the weight slips before your forearms burn, work on hand position and thumb wrap rather than adding load.
Variation 2: The suitcase carry — for asymmetry and lateral trunk strength
One weight, one hand, and the discipline to stay perfectly upright. It looks trivial and it is the most revealing carry on this list.
What it exposes is side-to-side difference. Almost everyone can carry meaningfully more on one side, and almost nobody knows by how much until they test it. It also exposes lateral trunk weakness directly, because the obliques and quadratus lumborum on the opposite side have to resist the load pulling you sideways.
What it fixes, done consistently, is exactly that asymmetry. Train the weaker side first, match the stronger side to it, and the gap closes over a few weeks. This has knock-on effects for squats and deadlifts, where an unnoticed asymmetry shows up as a bar drifting or a hip shifting.
The cue that makes it work: imagine a wall down your loaded side that you cannot lean into. If your torso tips, the weight is too heavy and you are training a lean rather than a resistance to one. Half the load of a farmer carry per hand is a sensible starting point.
Variation 3: The front rack carry — for upper back position and breathing
Two weights held at shoulder height, elbows up, kettlebells resting on the forearms or dumbbells held vertically. This is the carry that people hate, and it is the one that changes posture fastest.
What it fixes is thoracic extension and upper back endurance under load, which is the exact quality that fails in a front squat, a clean, or any overhead pressing. If your elbows drop in a front squat, this is the accessory that addresses it directly.
It also trains breathing under compression. The rack position restricts the ribcage, so you have to learn to brace and breathe simultaneously rather than holding your breath, and that skill transfers to every heavy lift.
Use it when your upper back rounds under load, when front squats feel limited by position rather than legs, or when you sit at a desk all day and need something that argues with that posture. Go much lighter than a farmer carry, keep the elbows high throughout, and stop the set when the elbows start dropping rather than when your legs give out.

Variation 4: The overhead carry — for shoulder stability and mobility limits
One or two weights locked out overhead, biceps beside the ears, walking under control. It is the most technically demanding carry and the one most likely to reveal a mobility restriction you did not know you had.
What it exposes is thoracic and shoulder mobility. If you cannot get the weight directly over the shoulder joint without arching your lower back, you have a mobility limit rather than a strength one, and carrying overhead in that position will make it worse rather than better. That information alone is worth the set.
What it fixes, once the position is available, is scapular and rotator cuff stability under sustained load. It builds the overhead endurance that a strict press does not, because the time under tension is far longer.
Start single-arm with a very light weight, and use the opposite arm free for balance. Watch the ribs: if they flare and the lower back arches, drop the weight. Twenty to thirty metres is plenty. This is a quality exercise, not a conditioning one, and anyone with a history of shoulder problems should get individual guidance before loading overhead. This is general information, not medical advice.
Variation 5: The pinch carry — for the thumb, which is your actual weak link
Hold two plates together smooth-side-out and carry them by pinching between thumb and fingers. Or use a single thick plate. This is the carry that finds the specific weakness almost everyone has.
What it exposes is thumb and pinch strength, which is separate from crushing grip and is usually far behind it. Pinch strength is what fails when you handle awkward objects, when you hold a plate to load a bar, and in rock climbing, and it is the grip quality that direct barbell work never trains.
What it fixes is the thumb adductor and the specific finger positions that crush-based training misses entirely. People who add pinch work often find their overall grip stops plateauing, because the limiting element was never the crushing pattern.
Use two ten-kilo plates to start and expect it to feel humbling. Dry hands, no chalk initially so you learn genuine grip rather than friction, and carry until the plates begin to separate rather than until failure. Twenty to thirty seconds per set is a good target, and two or three sets at the end of a session is enough.
FAQ: Programming Loaded Carries, Answered
How often should I do carries?
Two to three times a week is plenty, and they slot in well at the end of a session. They are fatiguing on the grip, so avoid putting them immediately before pulling work.
Distance or time?
Either works. Distance is easier to progress and compare, around thirty to fifty metres per set. Time suits limited space, around thirty to forty-five seconds.
Should I use straps?
Not for farmer or pinch carries, since grip is the point. Straps are reasonable for front rack or overhead variations where the target is elsewhere.
Which one should I start with if I only do one?
Suitcase carries, because they reveal the most and because the asymmetry they expose affects everything else you do.
Why do my traps hurt the next day?
That is normal with heavy farmer carries and it means you were holding position. Neck or shoulder pain rather than trap soreness is different and worth checking your posture under load.
TL;DR:
- Farmer: raw crushing grip and total-body tension. The default heavy carry.
- Suitcase: exposes and fixes side-to-side asymmetry and lateral trunk weakness. Start here.
- Front rack: upper back position, thoracic extension and breathing under compression.
- Overhead: shoulder stability, and it reveals mobility limits before it builds anything.
- Pinch: thumb strength, the weak link that crushing work never touches.
Pick the carry that matches the failure you actually have, not the one that makes you the most tired.
Keep Reading
This article is for general informational purposes only and is not medical advice. Always consult a qualified health professional for guidance specific to you.